If you have any issue with the installation or customization,
check out Troubleshooting Themes
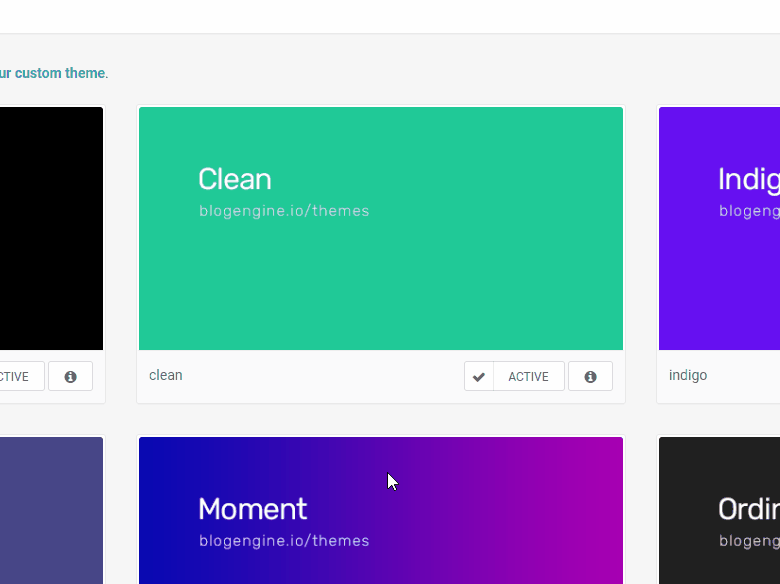
Theme Installation
You need to access your BlogEngine files, typically with an FTP or hosting control panel or any other ways that you have access to your files.
- Upload or copy the theme folder to the Custom > Themes folder in the root of
our BlogEngine
files
If you can, unzip the theme after you upload, otherwise unzip and then upload
- Log in to your BlogEngine admin panel
- From the menu navigate to Custom > Themes
- The theme you just added should be available, click on the active button
- Done.
Here is a GIF that shows how to install and activate the theme:
Custom Fields
Some themes may have some kind of custom fields, like social account links.
- Log in to your BlogEngine admin panel
- From the menu navigate to Custom > Themes
- On your current theme there is a button, click on it
- Your custom fields will appear, you can edit any of them and then save
Here is a GIF that shows how to open custom fields:
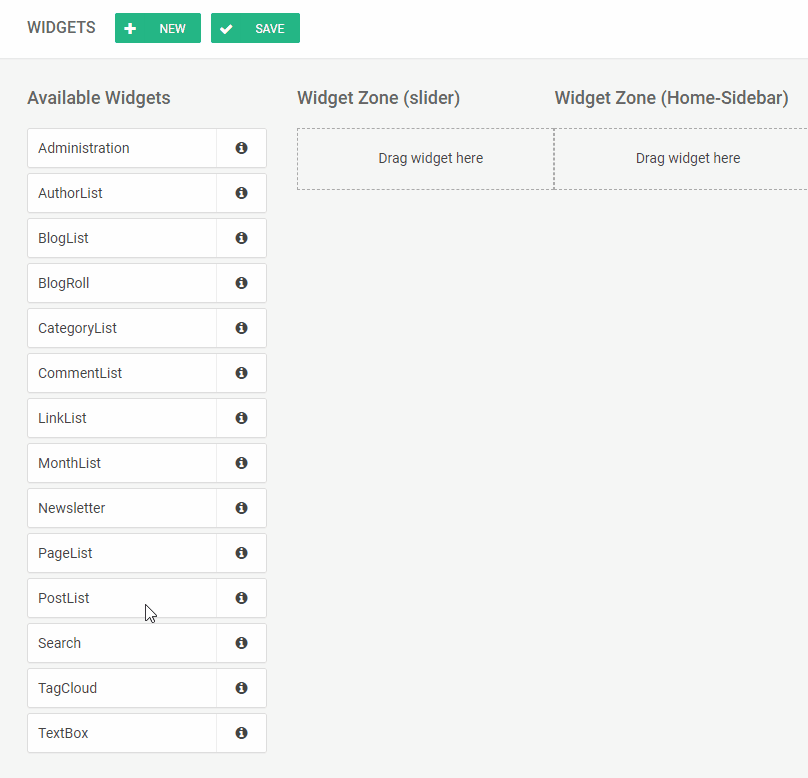
Slideshow
Some themes may have a slideshow, the items in the slideshow comes from the PostList widget.
- Log in to your BlogEngine admin panel
- From the menu, navigate to Custom > Widgets
- From Available Widgets, drag the PostList widget to the Widget Zone (Slider)
- Save
- On the PostList widget that you've just added, click on the button
- Now you can filter and select what to show on the slideshow
- Select numbers of posts (slides) and other fields as you wish
- Make sure at least you check the checkbox of "Display first image as thumbnail"
Here is a GIF that shows how to add Slideshow and customize it:
If you have any issue with the installation or customization,
check out Troubleshooting Themes